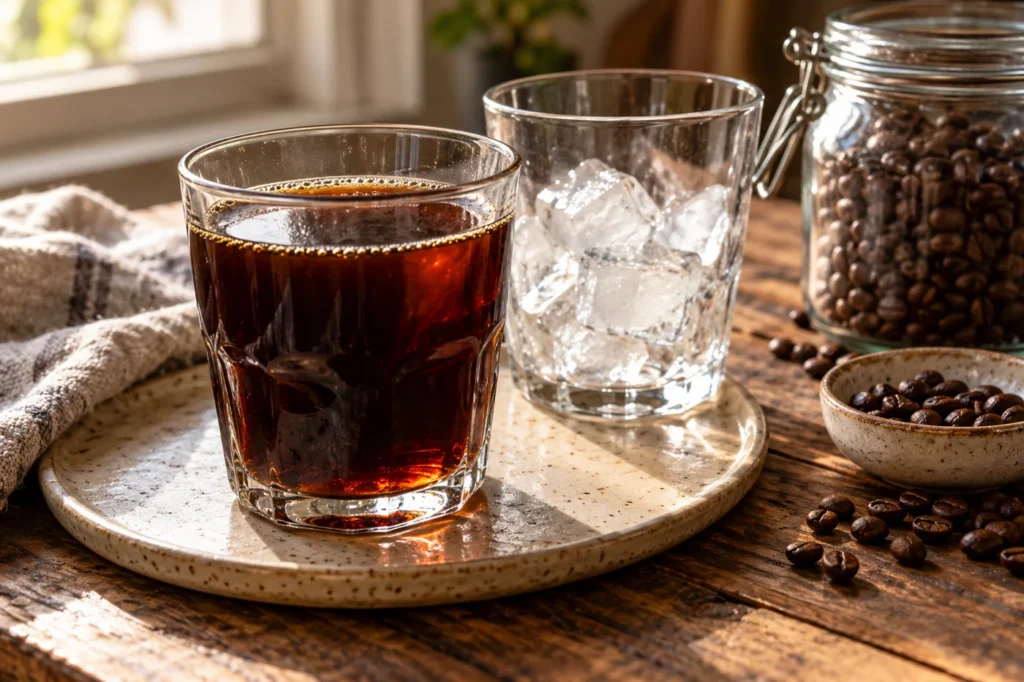
Cold brew coffee concentrate is strong coffee made by steeping grounds in cool water, then filtering out the solids. This version uses a straightforward one-to-four ratio by weight: one part ground coffee to four parts water. You dilute the finished liquid when serving, which makes a small bottle convenient for several iced drinks.
The process is easy, but it is not instant. Allow an 18-hour refrigerated steep plus preparation and filtering time. Brewing in the refrigerator gives you a consistent cold environment and fits naturally into an overnight routine. Start the jar in the evening, strain it the next day, and keep the finished concentrate chilled.
Understanding the ratio and yield
Weigh 125 grams of coffee and 500 grams of water for this batch. Measuring coffee by cups is less predictable because grind size and bean density change how much fits in a scoop. A basic kitchen scale makes the ratio easy to repeat. If you want half a batch, use 62.5 grams of coffee and 250 grams of water.
You will not recover all 500 milliliters of water because the grounds retain some. Expect roughly 300 to 350 milliliters of concentrate, depending on the grind and filtering method. That gives about five modest servings when using 60 milliliters per glass. Do not squeeze the grounds to chase a precise yield; pressing adds sediment and can make the flavor harsher.
Ingredients
- 125 grams coarsely ground coffee
- 500 grams cool drinking water (about 500 milliliters)
- Cold water or milk, for dilution
- Ice, for serving
Method
- Wash a large lidded jar, a fine mesh strainer, and your storage bottle thoroughly. Add the ground coffee and 500 grams of cool water to the jar. Stir until all grounds are wet.
- Cover and refrigerate at 40°F (4°C) or colder for 18 hours. Keep the jar refrigerated throughout the steep rather than leaving it on the counter.
- Set a fine mesh strainer over a bowl and pour the mixture through. Let it drain naturally without pressing the grounds. Discard the grounds.
- Line the strainer with a damp paper coffee filter and filter the liquid again. Allow about 10 minutes for this stage, replacing the filter if it becomes clogged.
- Transfer the concentrate to a clean covered bottle, label with the date, and refrigerate. To serve, mix 60 milliliters concentrate with 60 milliliters cold water or milk over ice, then adjust to taste.
Choose a grind that filters cleanly
A coarse grind, resembling rough sand, is easier to strain than fine espresso grounds. Very fine coffee can taste muddy and clog the paper filter. If you buy pre-ground coffee, choose a coarse option when available. Medium-roasted beans are a versatile place to begin, but use a coffee whose flavor you already enjoy rather than assuming cold brewing will improve stale beans.
The first straining removes the bulky grounds; the paper stage catches smaller particles. Do not rush a slow filter by squeezing or stirring it forcefully. If it stops draining, transfer the remaining liquid to a fresh damp filter. A little cloudiness is not unusual, but a thick layer of grit at the bottom of each glass suggests the filtration needs more attention.
Use clean equipment and ordinary drinking water. Cold brewing does not include the heat step of traditional brewing, so sanitation and temperature control deserve attention. The National Coffee Association publishes specific cold brew safety guidance for retailers; this home recipe takes a conservative approach by keeping both the steeping jar and finished concentrate refrigerated throughout.
Dilute for the drink you want
Start with equal volumes of concentrate and cold water or milk. Taste before adding ice, then adjust with more liquid if needed. Coffee strength is personal, and this starting point is a serving suggestion rather than a laboratory measurement. Caffeine content also varies with the beans and extraction, so the ratio alone cannot tell you an exact caffeine dose.
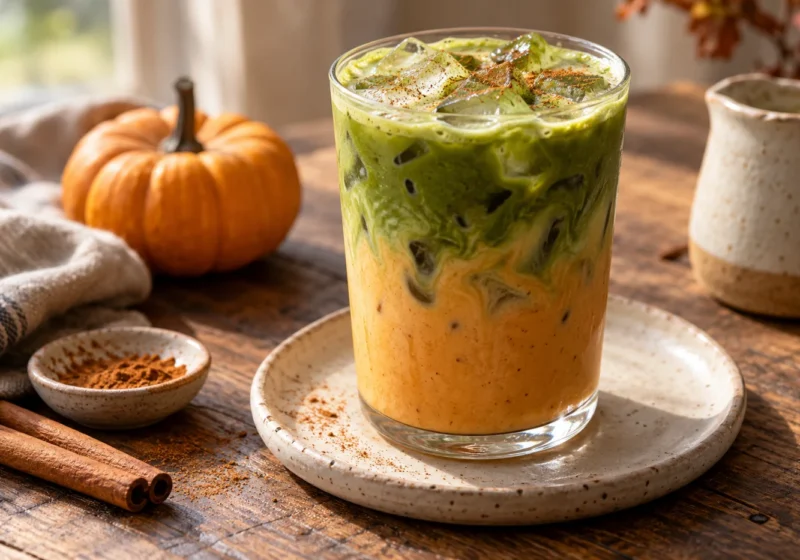
If you like an autumn café drink, add a small spoonful of the pumpkin milk from pumpkin spice matcha latte to a diluted glass of concentrate. For breakfast, serve the coffee beside cottage cheese flatbread with a savory filling. Add milk and sweetener to individual servings rather than the whole storage bottle.
Storage and planning the next batch
Keep the concentrate covered at 40°F (4°C) or below and use within four days as a conservative home storage window. This is a refrigerated drink, not a shelf-stable preserve. Make a batch you can comfortably finish in that time, and use clean utensils when pouring. Discard it if storage conditions are uncertain; normal appearance or smell cannot establish safety.
Can I heat cold brew concentrate?
Yes. Dilute a serving with hot water, or warm a diluted portion gently in a saucepan. Heating changes the serving style, not the original extraction method. Avoid heating the entire bottle repeatedly. A ceramic mug of warmed cold brew can be useful when you want coffee quickly but do not want an iced drink that morning.
Why does it taste too bitter or too weak?
First adjust the serving dilution. If the undiluted batch tastes harsh, try a coarser grind or a slightly shorter steep next time. If it tastes thin, check that the grounds were fully wet and your coffee-to-water weights were correct. Change one variable per batch and keep a short note so the next jar moves toward your preferred flavor.